Wet blocking is a finishing step, often used in crochet patterns. It greatly enhances the appearance of stitches, seams, and the overall look. It also ensures accurate measurements, as certain fibers may experience stretching or shrinking after being washed. Always block your swatch if the pattern gauge indicates measurements after blocking, as it will affect your finished measurements. For this wet-blocking tutorial, I will be demonstrating the technique using Rusty the Giraffe Blanket.
What You Need For Wet Blocking:
- Blocking Board or Interlocking Play Mat
- Rust-Resistant Blocking Pins (optional)
- Wool Wash (optional for delicate items)
- Cotton Bath Towel(s) – 1 or 2
- Utility sink or laundry tub
STEP 1
Soak your finished item in warm water using a laundry tub or utility sink. Soap is not required for wet-blocking, but a small amount of wool wash (such as Soak or Eucalan) is beneficial for 100% wool items.
CAUTION – Do not use hot water!
- Wool fibers may shrink or felt at high temperature if agitated
- Cotton fibers may shrink at high temperature
- Acrylic fibers may lose elasticity at high temperature

STEP 2
Drain the sink and gently squeeze the excess moisture out by pressing the item against the sink edges.

STEP 3
Depending on the size of the item, prepare 1 or 2 large bath towel(s) on the blocking board (or interlocking play mat). Lay out your wet item onto the towels, being careful not to stretch it as wet fabric is heavy. Roll the item in the towel(s) to absorb moisture.


STEP 4
Remove towels and spread out the item on the blocking board, shaping it to the specified measurements.

STEP 5
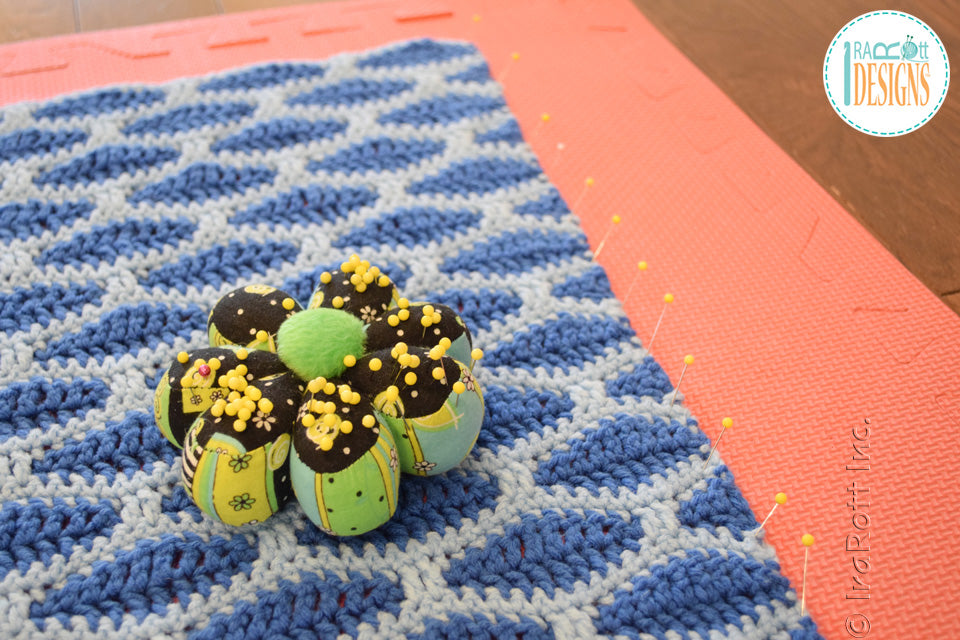
Optional – Secure the item around the edges using rust-resistant blocking pins. Some lace items may require using blocking wires.

STEP 6
Rotate and flip the item periodically to ensure fast and even drying.
I hope you find this article helpful. To learn more about alternative blocking methods, refer to my Spray Blocking and Steam Blocking tutorials.


