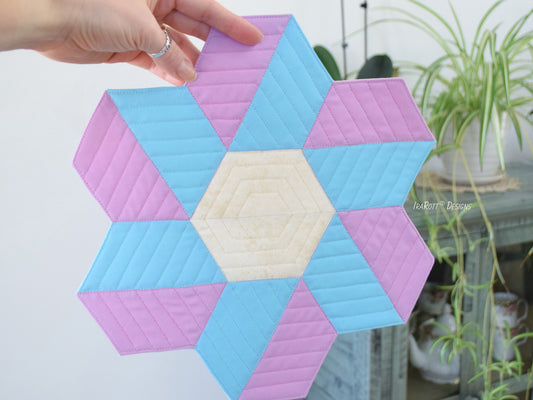
Despite the challenge of binding a quilt with irregular edges, there are several non-traditional techniques you can try. Here is one of the bindless methods that I like to use for finishing my quilt-rugs. This method is also great for finishing table runners, placemats, Christmas tree skirts, and other small or medium size projects. In this tutorial, I used Roxy The Forest Fox Jelly Roll Rug as an example.
The concept of finishing without binding is to quilt the top and back individually, and then sew them together around irregular edges. Therefore, you will need 2 pieces of batting (1 for each side), that are a few inches larger than the size of your project.
IMPORTANT: It’s crucial to use the same quality fabrics for your backing and quilt top, to avoid uneven shrinkage after washing. For the same reason, use similar density quilting for back and front.
Front Of The Quilt
- With the right side facing you, lay your finished quilt top on a piece of batting.
- Pin or spray baste to hold these 2 layers together.
- Stitch in the ditch or custom quilt as you like.
- Straight stitch around the quilt top to outline and stabilize the edges (approx. 1⁄8″ away from the edge).
- Trim away the excess batting.

Back Of The Quilt
With the right side facing you, lay the backing fabric on top of your second piece of batting (both pieces should be a few inches larger than your finished quilt top).
Pin or spray baste to hold these 2 layers together. Quilt as you like (this is a great place to practice your free motion quilting or straight lines).
Assembly
- Place the front piece on top of the back piece, with right sides facing each other and pin to hold the layers together.
- Sew around the edge of the front layer, with a 1⁄4″ seam allowance, leaving a 6″-8″ opening at the longest edge for turning.
- Trim away any excess backing.
- Clip the concave corners to release tension and trim the bulk around the convex corners, being careful not to cut through the stitching. Fiskars 5″ Easy Action Fabric Snips are ideal for clipping corners in tight spaces and detailed cuts through several layers of fabric.


- Turn your project right side out through the opening, using a point turner to poke out the corners and smooth out the seams. Clover Point 2 Point Turner helps to turn every point perfectly.
- Press the edges with steam from the back side
- Top-stitch around closing the opening and you are done!

Additional Tips
If the edges of your projects are too complex and it’s hard to leave an opening for turning, you will need to make a few minor adjustments:
- Front Of The Quilt – Finish as described above.
- Back Of The Quilt – Finish as described above, then cut backing in half and sew it back together with a 1⁄4″ seam allowance, leaving a 6″-8″ opening in the center.
- Assembly – Finish as described above, but do not leave an opening along the edge as you already have it on the back of the quilt…so after turning, simply sew the back opening by hand with an invisible ladder stitch and then top-stitch around.
Other Options:
Check out another method for finishing quilts without binding, using only 1 piece of batting - Non-Traditional Quilt Finishing.
