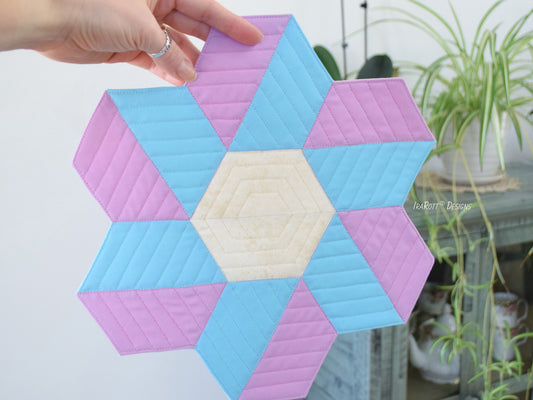
Quilting-As-You-Go allows you to assemble pieces of a quilt block, and as you sew each seam, you are stitching through the batting and backing layers at the same time. So when your piecing is done, the block is already quilted.
What You Need:
- Sewing machine and cutting tools.
- Pattern (the pattern featured in this tutorial is avoidable on our website, but you can use other suitable patterns).
- Fabric for quilt top and backing.
- Batting – Use 100% cotton or 80/20 blend batting as it will be pressed as you go; Low loft fusible polyester batting will work too, just be careful when you press the seams so that batting does not stick to the iron, a mini iron works great in this case.
- Pencil and a straight edge ruler for marking.
- Basting spray or basting pins.
- Straight pins.
- Aurifil 50wt cotton thread.
- Superior Topstitch 80/12 needle.
- Regular iron for working with cotton batting or mini iron if you work with polyester batting.
- Foot – Choose a foot that works best for you; test it before you begin working on the project. You can use a walking foot, a 1⁄4″ foot, or any other foot that you can adapt for sewing with a scant 1⁄4″ seam allowance. Do not use a foot with an edge guide as it will catch on batting when you sew.
To begin
lay out the batting on wrong side of the backing fabric and baste the layers using pins or basting spray. I like using basting spray for smaller projects as it’s fast and it holds the layers very well.

Registration Lines
To avoid shifting while sewing, mark 2 or more registration lines using a regular pencil and a straight edge ruler; do not use a heat erasable marking pen as it will disappear when you press. If there is no pattern instructions for marking, you can just draw 1 vertical line and 1 horizontal line across the center.

Depending on the pattern, there might be more than 2 registration lines. Refer to these lines as you go to make sure that the left and the right edges are the same and the center of the top and bottom pieces are aligned with the vertical line. To determine the center of a strip, fold it in half and finger press.


Sewing & Pressing
Construction is essential for the quilt-as-you-go method, especially if you are following a precise pattern. Sewing through 4 layers decreases your seam allowances because there is extra bulk in the seams. If you are off by just a hair from the beginning of your work, then each of the following pieces will be slightly longer than the previously pieced edge. A scant 1⁄4″ seam allowance will help you fit all of the pieces together properly, just sew slightly inside the 1⁄4″ mark. Press each seam with a hot iron before attaching new strips, as unpressed seams will affect your seam allowances and the pieces will not fit correctly. To avoid overlapping seams on the back, start and stop sewing 1⁄4″ away from the edge.


Guiding fabric
If you don’t have a 1⁄4″ walking foot, use a small screwdriver to help the fabrics feed evenly by guiding the top layer.
Pin – Sew – Press – Repeat
Once you finish the block, it is already quilted, but you can add additional quilting if you wish. Sew around the edges of the block to secure, then trim away the backing/batting edges. You can now bind your block to create a placemat or join blocks into a quilt.
